

Those who simply want to play music from CDs don’t need much help anymore, but it’s a bit more complicated with a computer. Here, the CD first needs to be converted into a music file. That’s exactly what this article will cover.
First, we need to be clear that a minimum level of computer knowledge and skills is required to perform this correctly. I expect a reader of this post to be able to install and use software, locate and copy files within a directory, and create new directory entries.
One more thing: I am (unfortunately for some) required to work with Windows computers (PCs) for my job, so I don’t own an Apple computer and will therefore describe today’s exercise using a PC. The steps are essentially the same for Apple computers, if not significantly simpler; there are good tutorials available online.
So let’s begin our exercise:
1. The software
To successfully and sustainably create music files, we first need the codec. Here we use the latest version of the LAME codec. A current way to download it is:
http://www.afterdawn.com/software/general/download_splash.cfm/lame_mp3_encoder
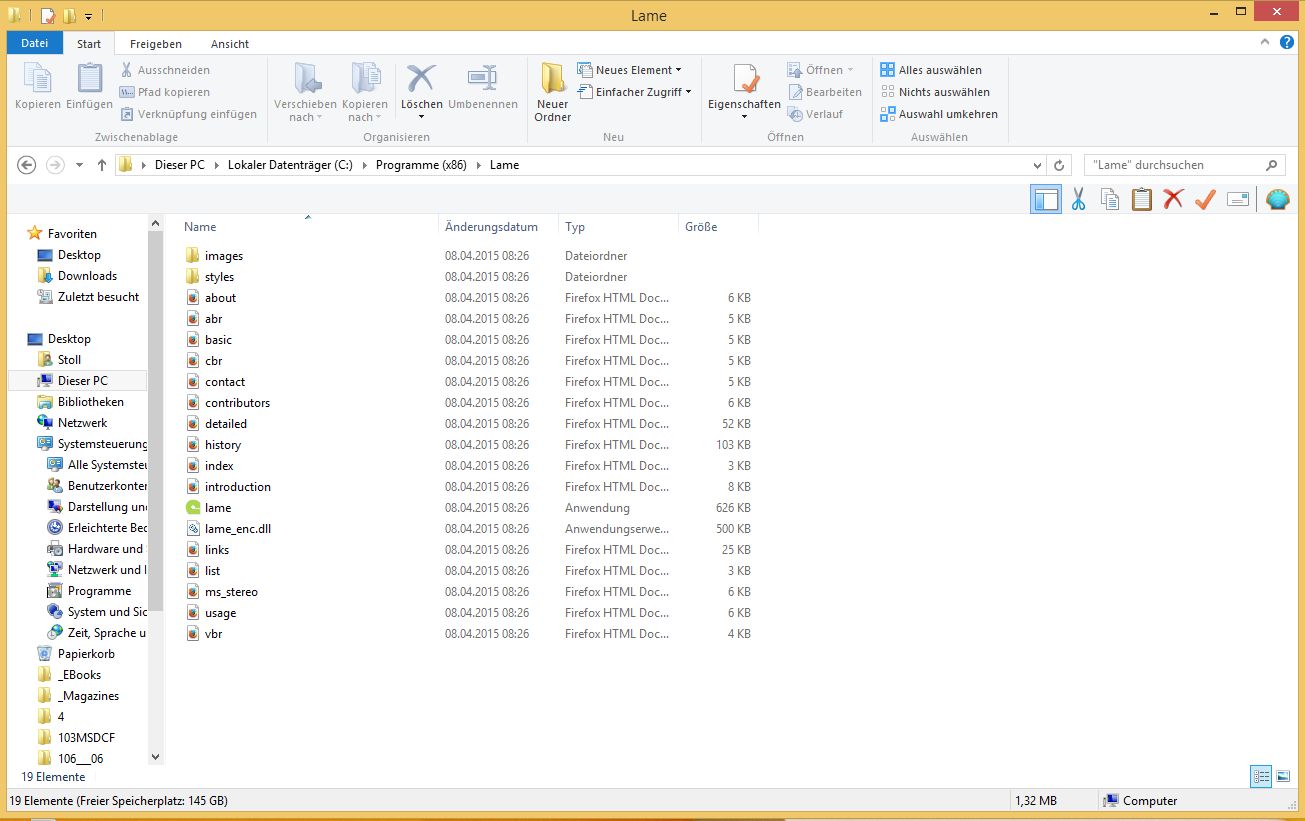
After downloading, please create a directory named Lame in C:\Program Files or C:\Program Files (x86) and copy all files from the downloaded archive there (you will need the appropriate PC skills for this). If the link above no longer works, please search for the Lame encoder yourself using Google.
I use the program EAC (Exact Audio Copy) to rip the CD, which you can download from here:
http://www.exactaudiocopy.de/eac-1.0beta5.exe
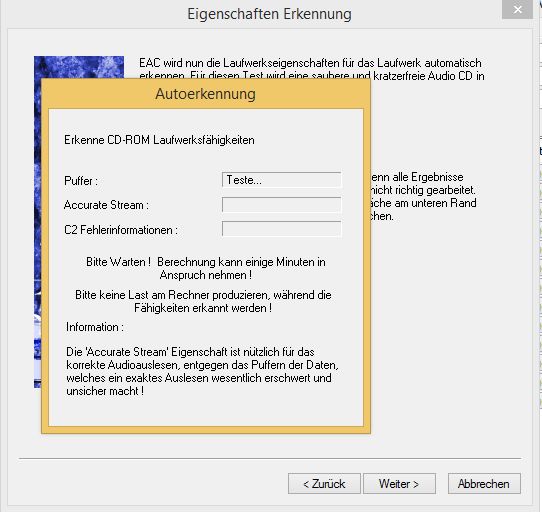
Please complete the installation and start EAC. You will need a relatively new audio CD in the drive so that EAC can configure itself to your hardware. Answer “yes” to all questions. EAC will now check the drive using the inserted CD.
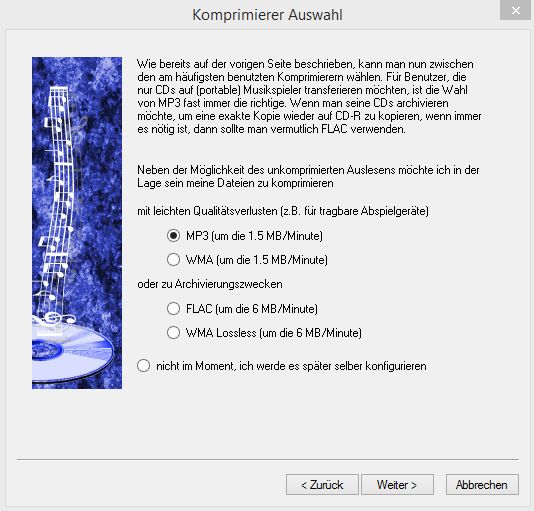
Please specify MP3 in the encoder selection window.
Now simply enter the LAME storage location manually:

Enter your email address (or not) and keep all other settings.
Now we can work with EAC.
2. Reading the sample CD
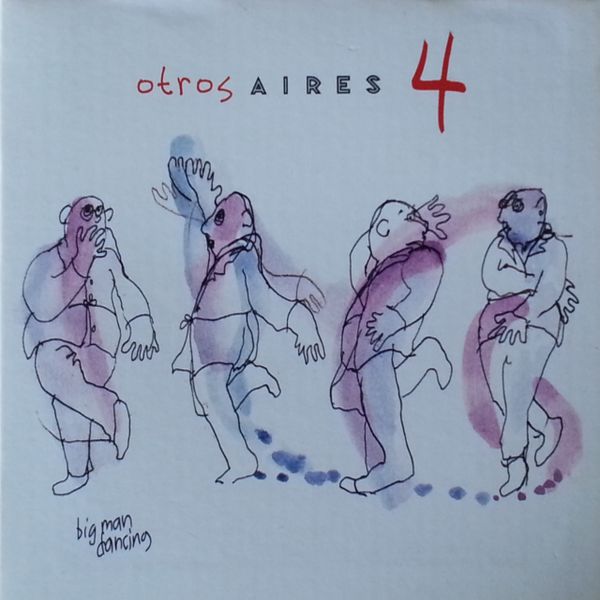
As an example, I simply picked a CD at random from my shelf. It’s CD 4 by Otros Aires.
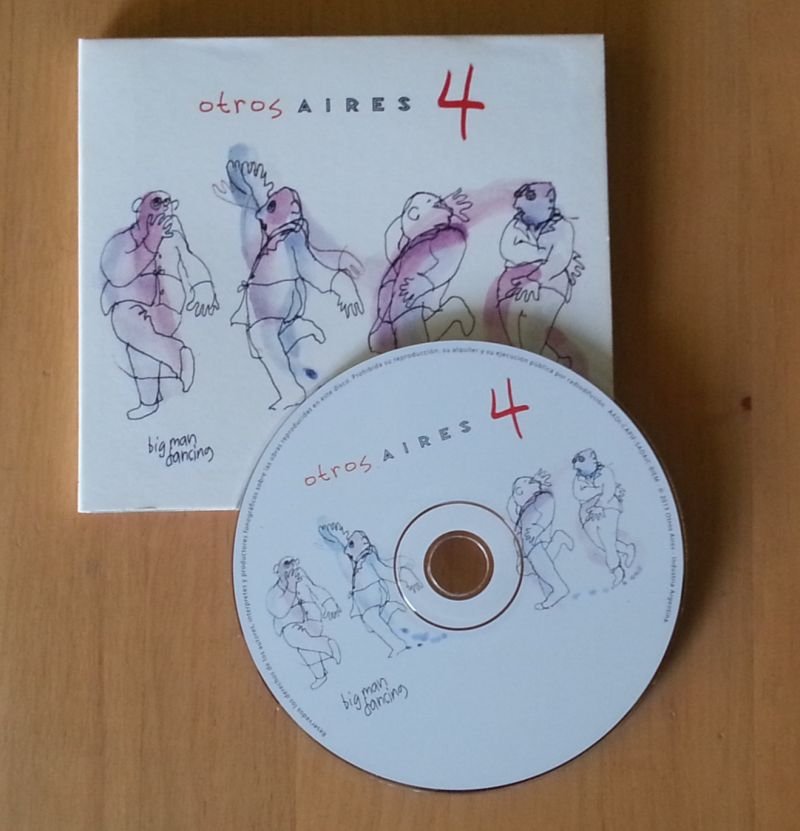
You can take a picture of the CD case or scan it. Alternatively, you can find the front cover image online. I simply pointed my phone at it and converted the image to 600×600.
With the CD in the drive, EAC will now start. With a bit of luck, the program will find the CD in an external database and can automatically enter the track information. Otherwise, some manual entry will be required.
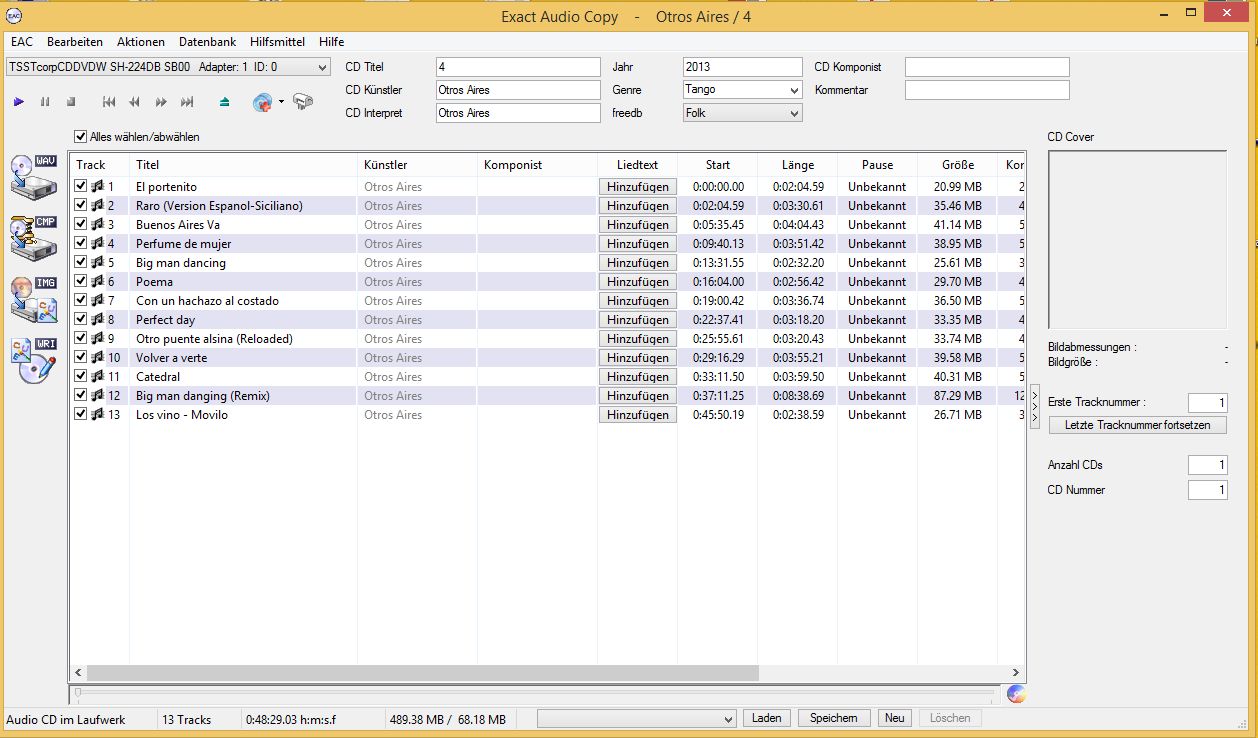
Here I had to correct a track title and then drag and drop the cover into the appropriate window.
Pressing F11 (or selecting Menu: EAC: Compression Settings) opens the encoder control window. In the “External Compression” tab, please set the bitrate to 320 kbit/s and the encoder to LAME.

As a further setting, you can define the file naming convention. I personally prefer the format %Artist% – %Title%. This is entered in the EAC menu:
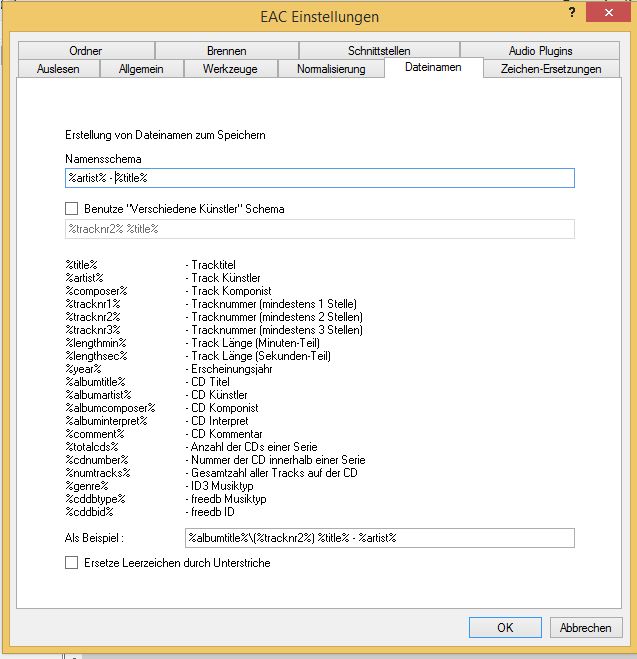
Now you can start the program using the “CMP” button (left, second from the top).

Ideally, create a separate directory on the desktop as the target directory.
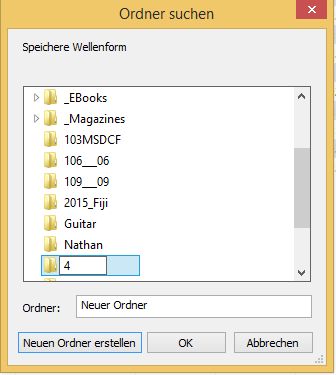
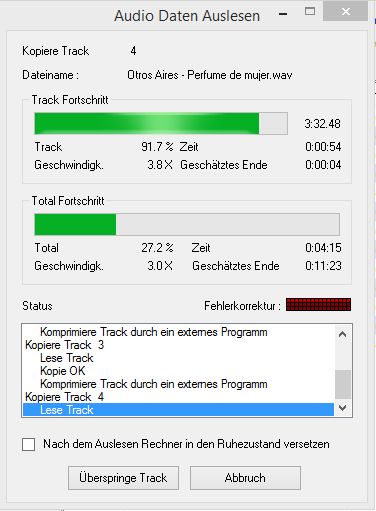
EAC now begins reading and places the compressed files in the selected directory.
The result is a folder filled with the fully compressed and tagged music data.

This folder can now be added to the music collection by simply copying it into the orchestra’s folder (here “Otros Aires”).
EAC is a very comprehensive program and can be customized in many ways. Plenty of help is available online for this purpose.
Using FLAC as the compression mode is also possible here without any problems.
I’ve found that expanding the MP3 tags is helpful because the singer and recording year (especially for recordings from the EDO) are also important. Therefore, I manually edit the tag information when necessary using the MP3TAG software, which can be found here:
http://www.mp3tag.de/en/download.html
3. Advanced File Naming Conventions
| ATTENTION: Addendum February 1918: New file naming conventions here: http://tango.rstoll.com/de/2018/02/24/neue-dateinamen-und-tag-konventionen-in-meiner-sammlung/ |
Personally, I proceed as follows:
The music file will be named: “Artist’s Short Name” – “Title”
It is listed in the directory: “Artist’s Last Name, Artist’s First Name”
in a subdirectory: “Title of the CD”
The MP3 tag for the artist states: “Artist-Singer”
The MP3 tag for the title contains: “Title (Year)”
Example: The file Rodolfo Biagi – Quiero verte una vez mas.mp3
So it has the tags:
Artist: Rodolfo Biagi (1940)
Title: Quiero verte una vez mas – Jorge Ortiz
and is listed in the directory: Biagi, Rodolfo
Abrazos,
-Richard (DJ Ricardo)
PS: In the next episode we will take a look at playback software.